
Mountain Safety
Emergency: 778-457-5000
Ride Safe
Always wear a helmet, ride within your ability, never ride alone and stay on designated trails.
Falls are inevitable when learning a new sport. Having the right equipment and protecting yourself from abrasions is key to enjoying your day in the bike park.
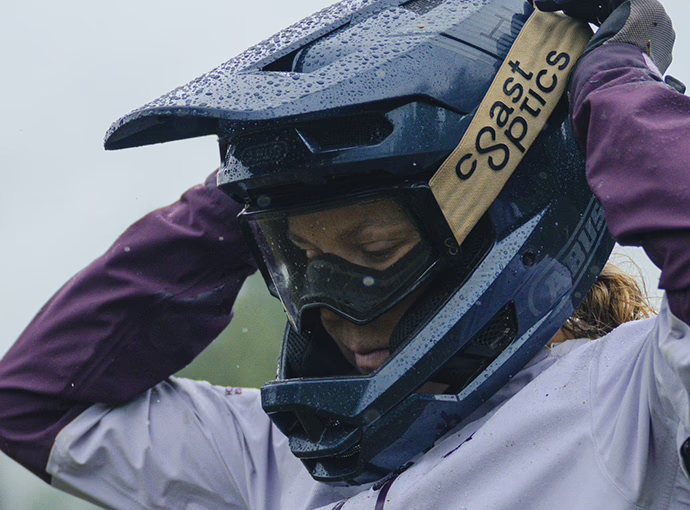
Helmets
- Helmets are required for all riders.
- Full-face helmets are recommended in bike parks.
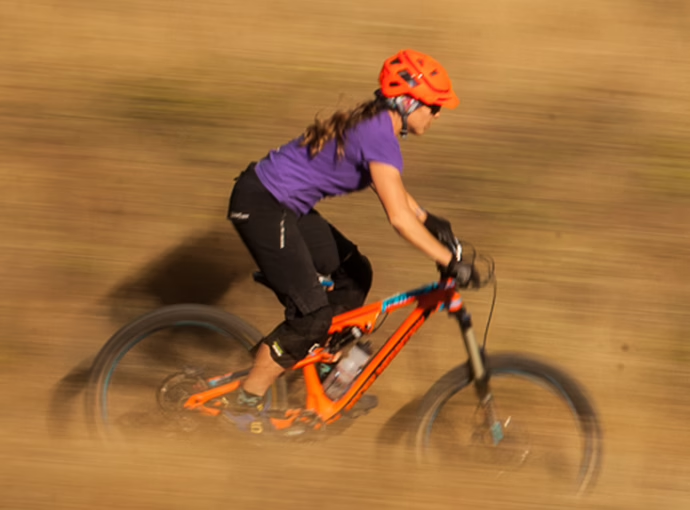
Protection
- Full finger gloves
- Knee & Elbow pads
- Goggles or sunglasses
- Sturdy soled closed-toe shoes
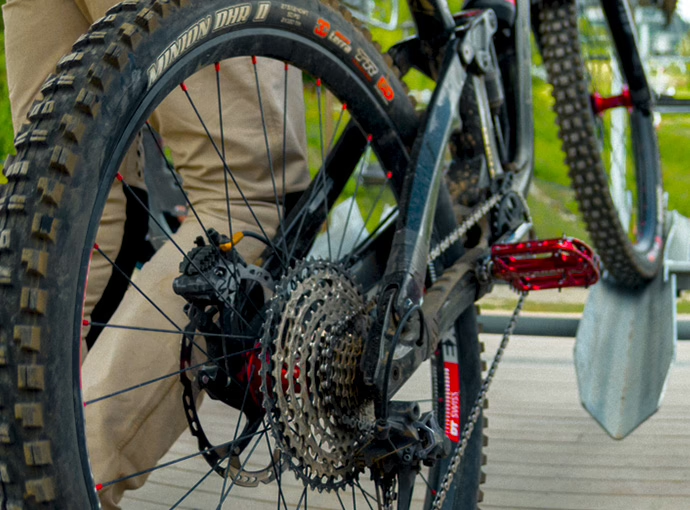
Your Bike
- Mountain bikes must be in good working order.
- Full-suspension mountain bike with hydraulic disc brakes are recommended.
Important! Wearing protective gear does NOT make you invincible. Always ride within your ability.
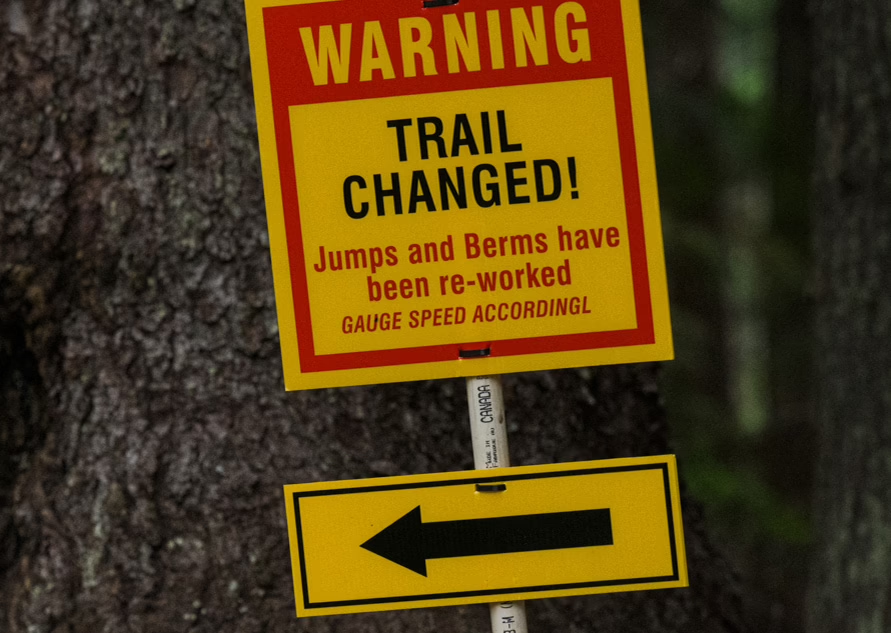
RIDE SMART
Trails change dAily — SLOW DOWN BEFORE YOU SPEED UP
Crashes can happen on your first lap. Ride the trail multiple times to get familiar with the features and equipment you’re on so you can confidently push your limits without pushing your threshold. Jumping skills are required for Freeride trails.
Pre-ride
Warm up the brain and body by inspecting the trail at low-speed. Take the time to check your equipment.
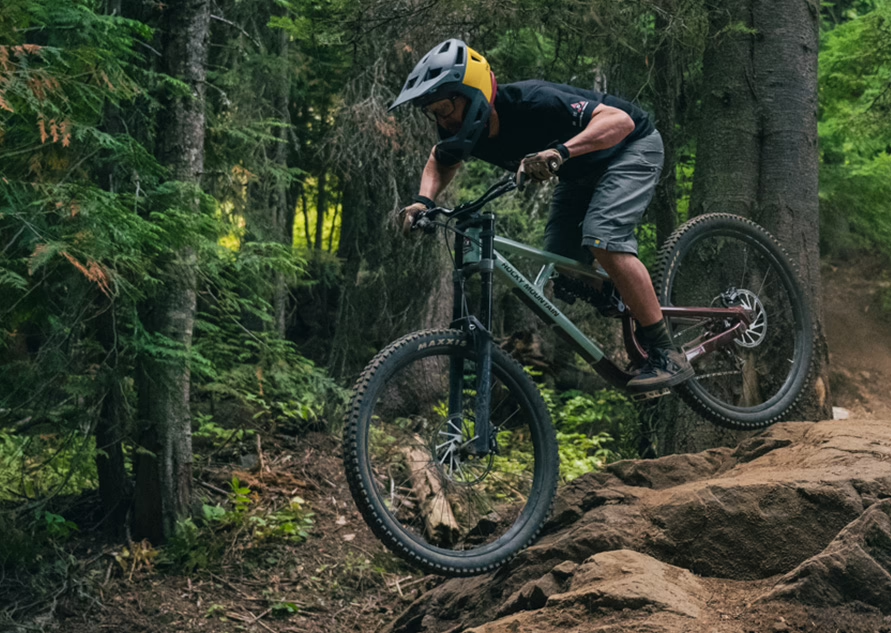
Re-ride
Lap the trail a few times and get to know the flow of the feature.
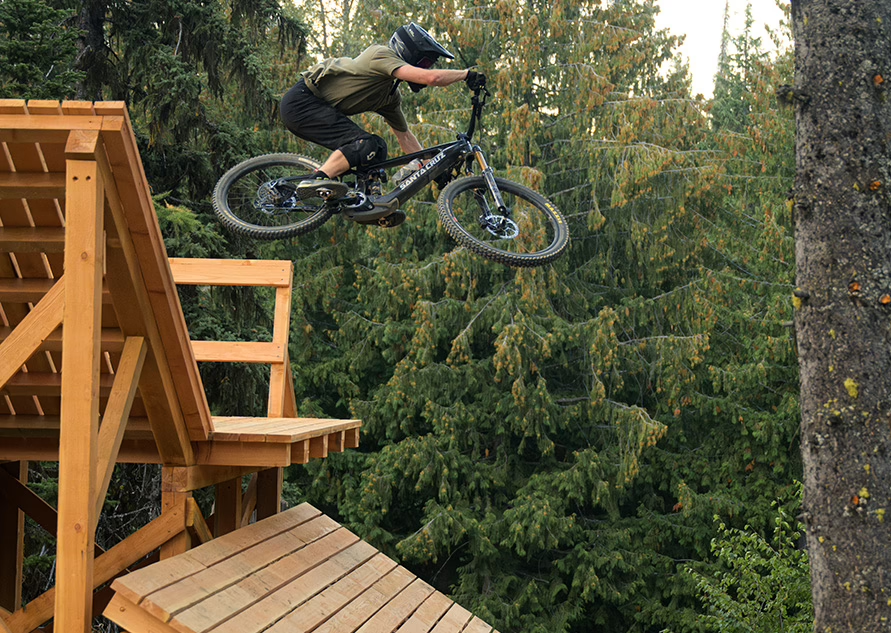
Free-ride
Start small and work your way up to faster speeds and larger features.

Pre-ride bike Checklist
Mountain Bike Parks/Trails are rough and demanding on both the bike and the body. Before riding, always inspect your equipment or have it checked by a qualified bike mechanic.
Helmets are mandatory on all trails within the bike park. Full Face Helmets are strongly recommended for all downhill trails
- Ensure your helmet is undamaged, fits securely and is appropriate for the riding you are participating in.
- Ensure bike is correct for intended use and correctly fitted to the rider.
- Inspect bike frame. Look for cracks, damage/dents.
- Ensure front and rear brakes are in working order and provide adequate stopping power while descending.
- Ensure suspension is in working order and set for your weight and riding ability.
- Bolts and connection points must be tight and secure.
- Tires must have adequate tread and be inflated to an appropriate pressure.
- Handlebars and grips must be properly secured.
- Seat and seat post must be fastened securely and at the appropriate height for the type of riding.
Mountain Biker’s Responsibility Code
The Mountain Biker’s Responsibility Codes provides the basic rules of conduct and must be followed by all using the Bike Park.
Ride in control and within your ability level
You must be able to stop and avoid other people or objects. Start slow and small. Ride trails and features matching your ability.
Protect Yourself
Helmets are mandatory in the Bike Park and strongly recommended on all other trails. Other protective equipment is strongly recommended.
Inspect Trails and Features
Conditions change constantly on trails and features. Inspect features before use and throughout the day.
Inspect and Maintain your bike
Or have it checked by a qualified bike mechanic before you ride.
Obey Signs and Warnings
Stay on marked trails. Do not cut switchbacks and keep off of closed areas.
Do Not Ride
If your ability or judgement is impaired by drugs, alcohol or fatigue.
Be Lift Smart
Conditions change constantly on trails and features. Inspect features before use and throughout the day.
Look Out for Others
Avoid riders ahead of you. They have the right of way. Yeild to other riders when entering a trail.
Cooperate
If you are involved in or witness a collision or accident, you must identify yourself to the Bike Patrol, staff member or local authority.
Be Visible
Do not stop where you obstruct a trail or are not visible from above.
Trail Difficulty & Types
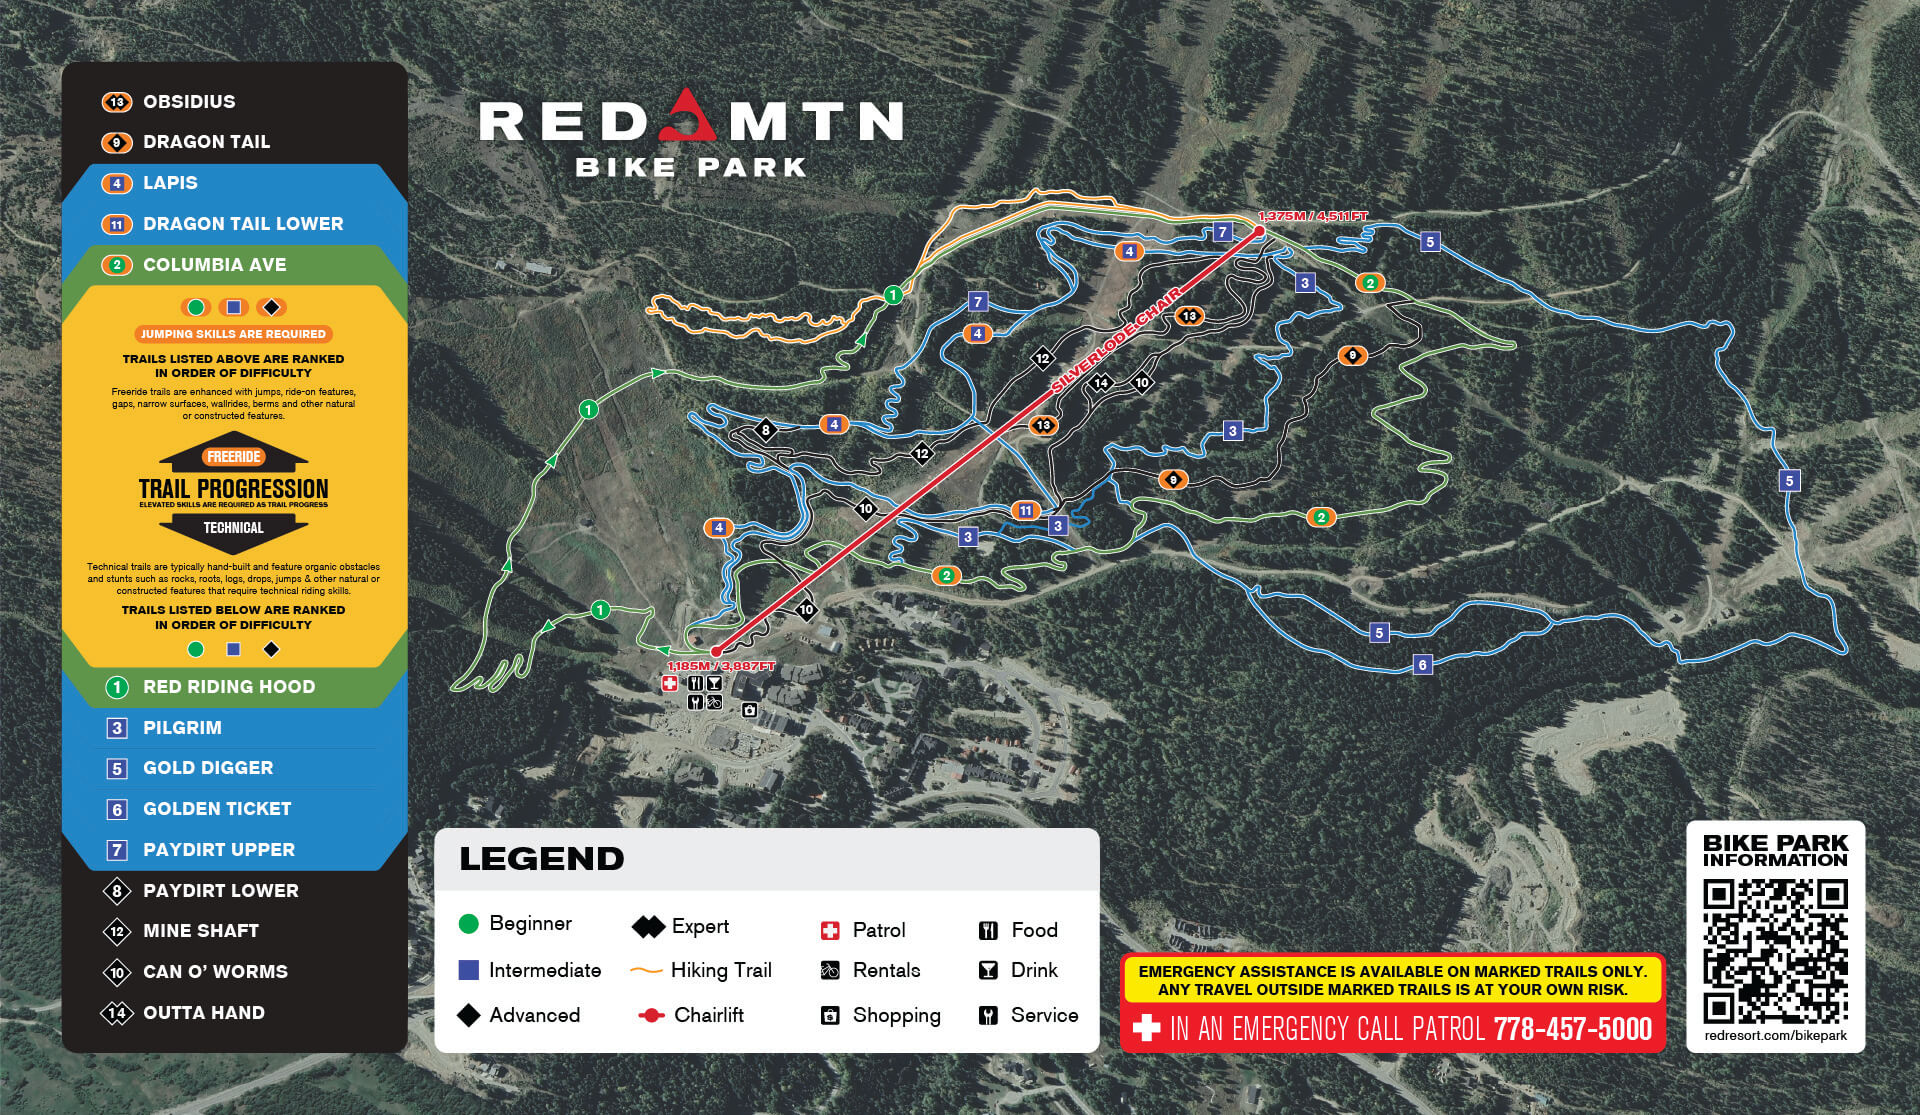
Bike Parks contain colour trail designations, and also two classifications of trails: Technical & Freeride.

Technical Trails
Natural obstacles and features requiring fitness, balance, and bike control at both low and high speed.
Beginner
Beginner trails feature moderate slopes, and fewer technical challenges than more advanced trails.
Intermediate
Intermediate trails feature steeper slopes, tighter turns, and technical challenges like roots, large rocks and drops.
Advanced
Advanced trails feature steeper slopes, and technical challenges requiring expert bike control, balance, and commitment.
Most Difficult
Challenging trails for the most capable riders. Difficult features with significant risk.

Freeride Trails
Man-made features, obstacles, and jumps requiring speed control and jumping skills.
Beginner
Beginner trails feature moderate slopes, and fewer technical challenges than more advanced trails.
Intermediate
Intermediate trails feature steeper slopes, tighter turns, and technical challenges like roots, large rocks and drops.
Advanced
Advanced trails feature steeper slopes, and technical challenges requiring expert bike control, balance, and commitment.
Most Difficult
Challenging trails for the most capable riders. Difficult features with significant risk.
About Trail Ratings
The designation of run difficulty is set by each ski area individually.
Green Circle, Blue Square or Black Diamond trails are not necessarily the same as a similarly rated trail at another area.
Participants should work their way up, beginning with the easiest trails, no matter what their ability level may be, until they are familiar with the trails at each ski area.
Proper Safety Gear for the bike park
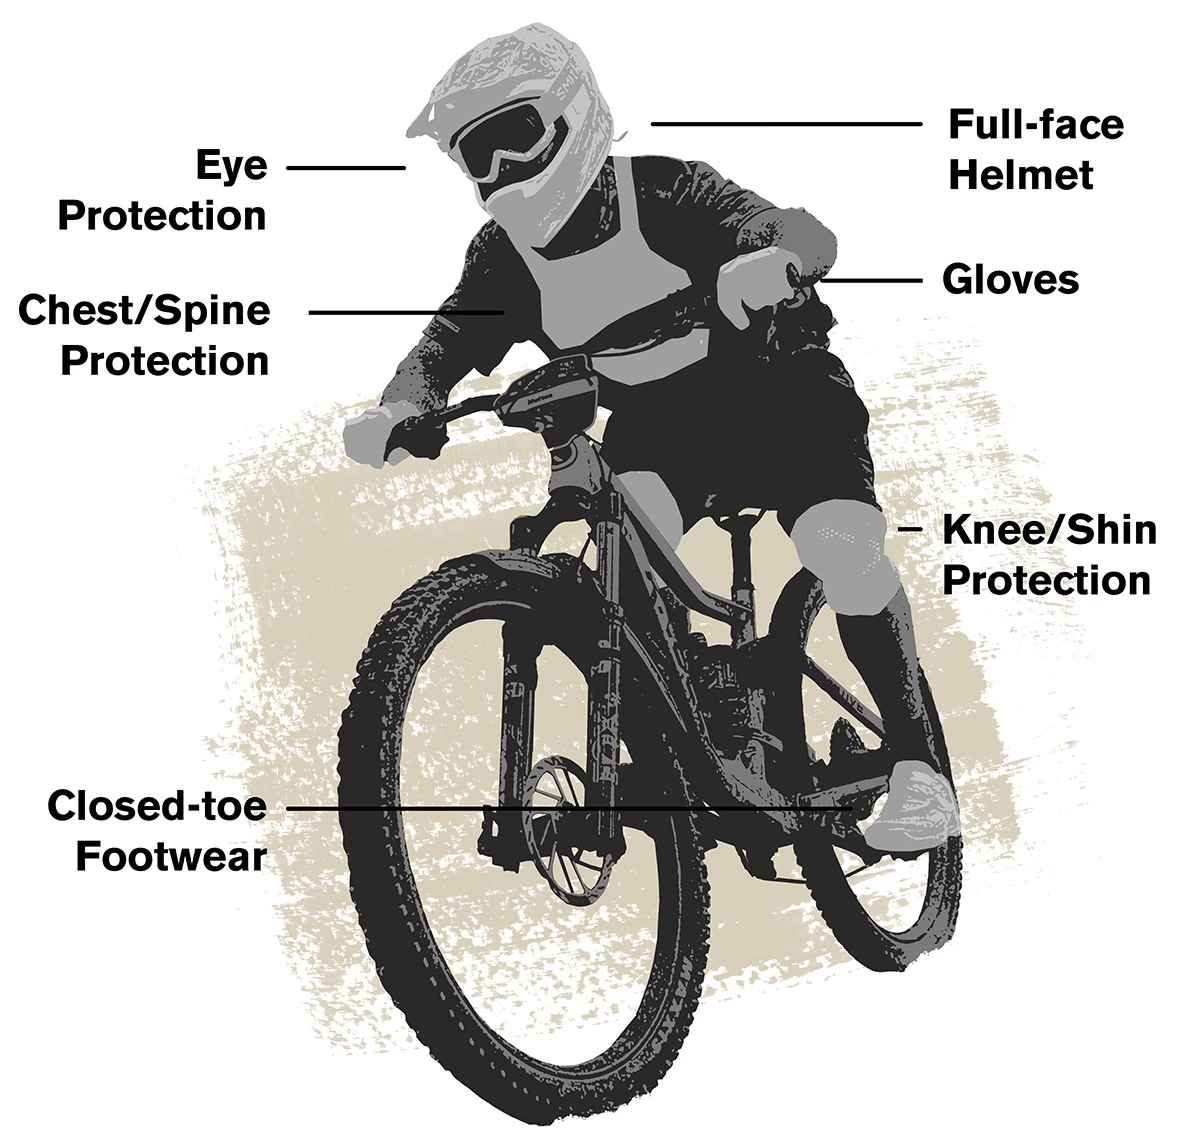
Gear up for a safe ride
Falls are inevitable when learning a new sport. Having the right equipment and protecting yourself from abrasions is key to enjoying your day in the bike park.
Find rental bikes and protective equipment at RED Sports.